I upholstered my bed on a whim
And it worked out surprisingly okay!
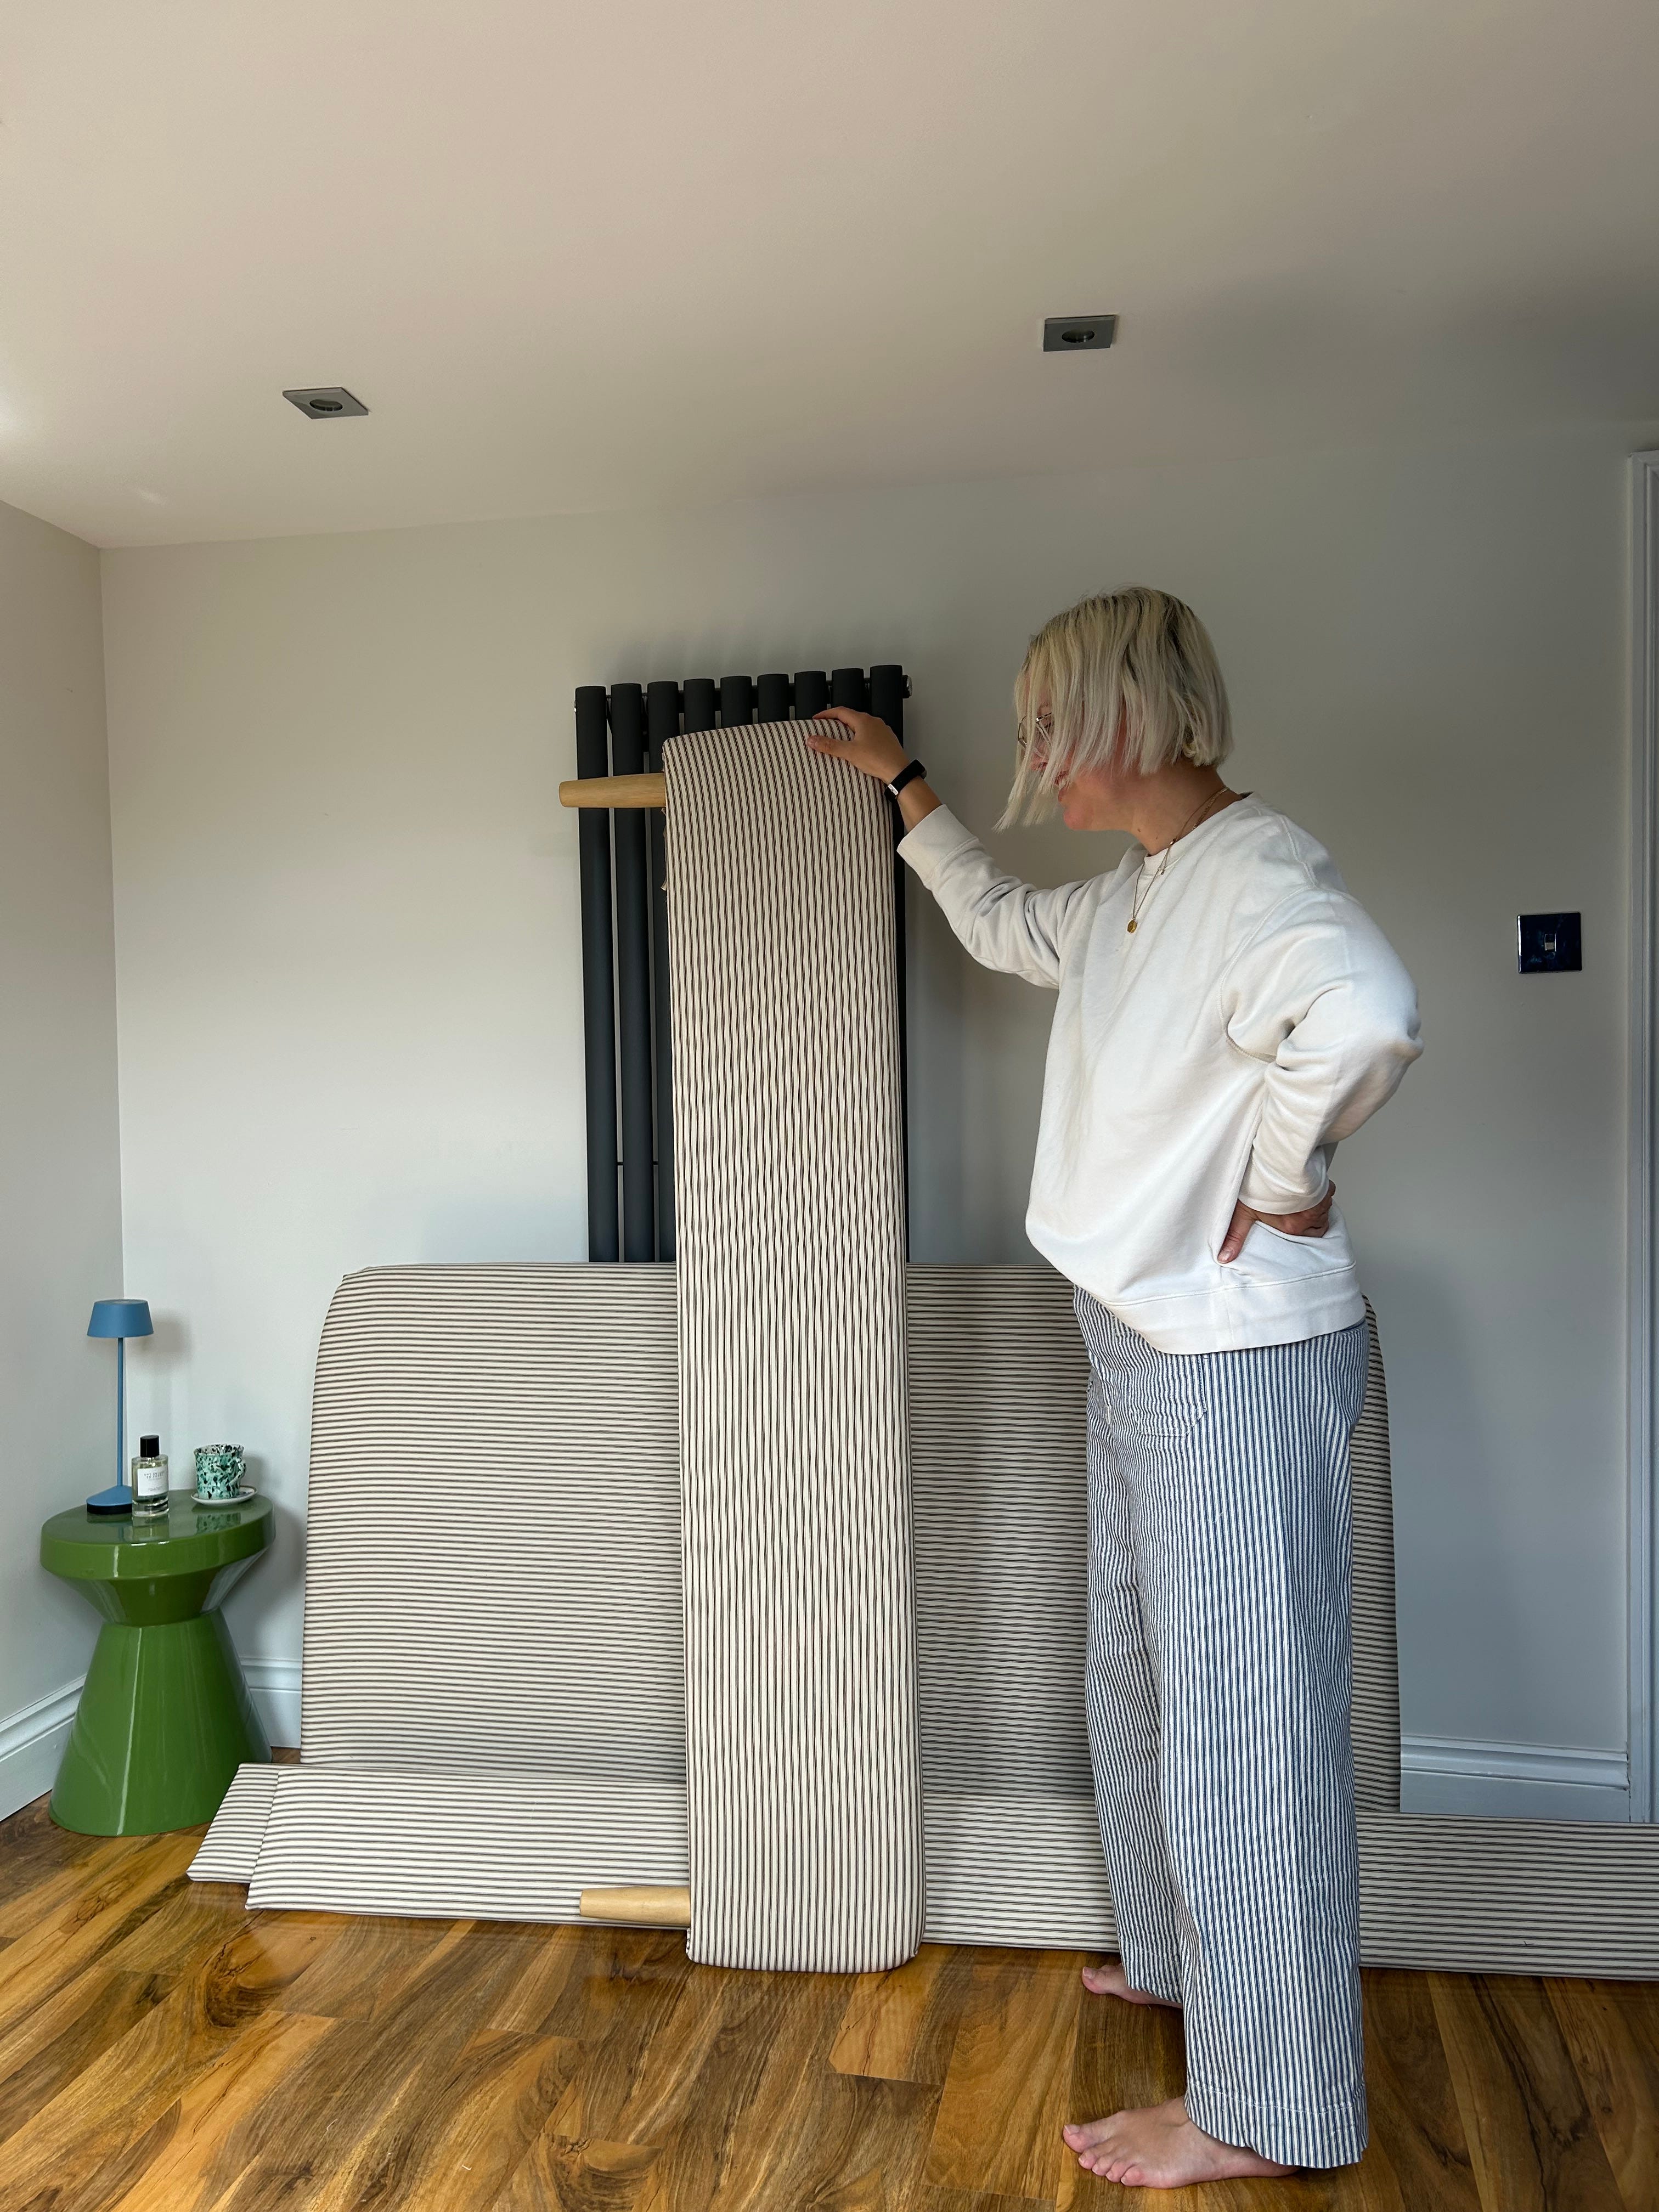
By the way, I like a ticking stripe.
We have had this bed for around 5 years. It’s fine and comfortable but it has never been my dream bed. We actually owned my dream bed when we first decorated our bedroom in 2018:
I adored it but dream beds don’t generally work with kids.
No headboard, hard metal edges, Chris’s feet kept bashing the bar at the end and it was too high for the kids to climb into. So we sold this and bought a practical bed (similar here from John Lewis ANYDAY) which completely changed the dynamic at home. We all hang out in our bed a lot, we upgraded to a kingsize (from a double) and I don’t foresee us changing this bed. Ever, really.
But I did have an urge to update it. I kept seeing its potential and I suppose, in my frustration of not being able to tackle any new house projects, I acted on impulse.
And it looks amazing! I write that incredulously because I have never upholstered anything in my life and there was not even a shred of confidence that I could pull it off. Just a sprinkling of delusion.


I knew I wanted stripes because: our sofa. Plus I had seen similar shaped beds with stripes (see above) and knew it would work. I even saw Katherine Ormerod upholstering her same bed a few years ago and had been itching to try.
My only regret with getting our sofa upholstered in stripes was not doing it sooner (although I do wish we had stuffed the cushions whilst there, as they are in dire need of refilling and plumping now).
But all the striped fabrics I was drawn to (especially interesting colours) were out of my price bracket. Particularly as a first-time upholsterer who would more than likely end up with wasted fabric.

Like this one! I really liked the idea of doing something bold but it was too big a risk for a first-timer.
So I landed on a simple ticking stripe - it’s way more everyday, therefore more affordable, yet still looks expensive.
I found this brown and cream stripe on Tinsmiths at £39.50 a metre (I bought 3 metres). It’s a good alternative to classic navy or red whilst still being a great neutral on which to build colour.
I borrowed the staple gun from my sister (whose 2012 DIY headboard post on The Frugality was one of the most popular posts!) and, armed with Micaela Sharp’s ‘Modern Upholstery’ book I set to it. In true Alex style, I skim read the book, realised I only had half the equipment, had already set aside the time and started anyway.
After laying out the fabric. I discovered it was probably better to unscrew the individual elements of the bed and then realised I didn’t have the tools to achieve it so faffed around for a good hour looking for an allen key. When I finally got my hands on one, I took apart only what I needed and got going.
Once I’d measured and cut the fabric, I saw I needed to iron it. Lost another hour.
If you or anyone you know is a professional upholsterer then please look away now I was very slapdash in my approach. It is unusual for a perfectionist but I struggle to follow conventional instructions and have to get there my way. I believe I have enough attention to detail that the projects look good enough for me. It’s a confidence I’m actually quite proud of, otherwise I’d never start anything.
I knew the back wouldn’t be seen so just made sure everything on display looked good and wrapped the corners a bit like a present - pulled and stapled.
Thankfully on Day 2, Chris came home and helped dismantle the headboard, which made everything much easier. The key to this project was just keeping the fabric taut and the stripes straight, which can be difficult when dealing with curves - the stripes on the fabric have a tendency to curve too.
For holes for screws, I found it easier to cover with fabric and pierce later (a bit like wallpapering). I very much appreciated the neatness here!
Another thing I would suggest - if you are brave enough - is to cut the fabric as close to the edges as possible. Less wasted fabric but also less work for the staples and much neater. But it was nerve-wracking cutting the fabric for the final piece. I had almost exactly the right length which was not planned by any means but a pleasant fluke. I will use these last remaining offcuts to wrap presents!
So, the finished result? Two half days later - I am pretty impressed with the results. A bespoke looking bed for a fraction of the cost. My back is killing me and I’m not sure I ever want to upholster anything again but I think it looks pretty epic.
I weirdly liked it less with the bed made but I wasn’t about to experiment with other sheets (it looks better against neutrals) with the state my back was in.
What do you think? You can be honest. Have you ever surprised yourself with DIY?
For anyone not mad and interested in a stripe headboard, John Lewis sell one for £299 here (and its pretty nice!).
And for a more frugal idea - here’s the canopy my sister created at home using just a Dunelm cable and fabric! Significantly cheaper, possibly more dramatic and presumably easier on one’s back (also covers the holes left in the wall behind from a hanging picture):


Love this! Looks so good. Have the same bed and have been wanting to do the same for years. This might give me the nudge I needed. Glad to see 3m was enough too. Thanks Alex
Absolutely love it. We did ours for the first time two years ago and I'm so pleased I gave it a go. Although with no experience in upholstery I decided I wanted a wavy headboard and footboard. With no instructions I still don't know how we managed it. I can still see a few mistakes but sometimes you have to give it go.