Hiya!
Firstly, some housekeeping of sorts. Soon(ish) I will be removing the offer of a free meal planner with a paid subscription. As you might know, I’m moving away from The Frugality (read the post on why here) and this also means away from the products too. I am in need of a fresh start (which also means I’m in the process of archiving the old site), so if you haven’t yet claimed your meal planner as a paid subscriber (wherever you are in the world, we are covering shipping!), or maybe you requested but it hasn’t arrived yet, then please reply to this email/DM me/email info@the-frugality.com with your name and address and we will get one out to you. You don’t even have to meal plan, I will never know if you choose to regift (and we will not keep your details on file!).
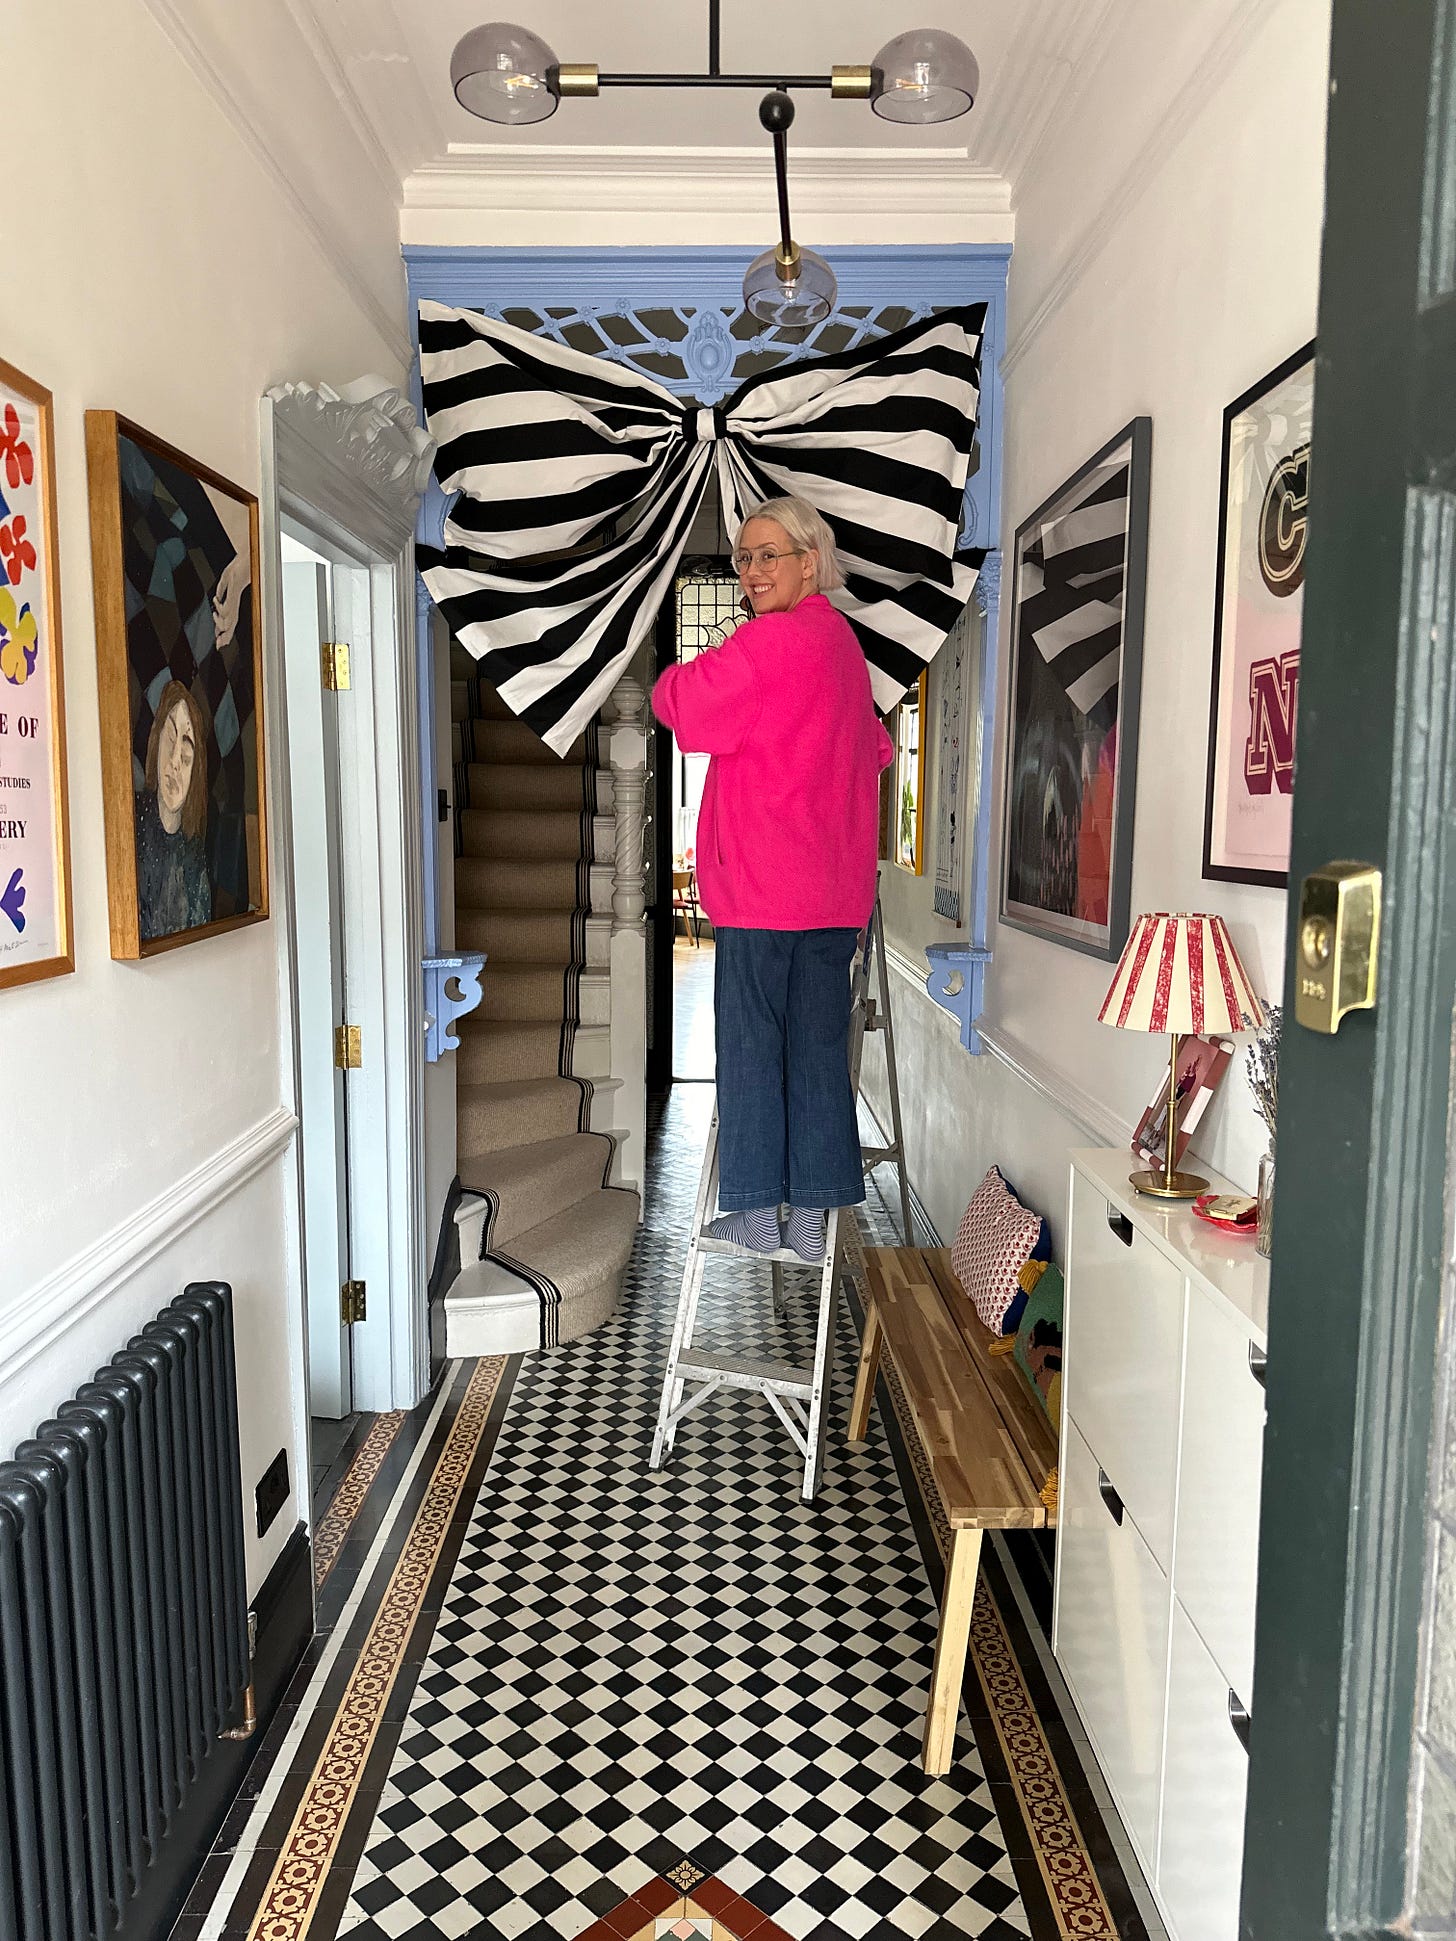
Secondly, I am writing this in bed because: I fell over in my rollerskates! I was doing so well, not as rusty as I imagined I’d be 30 years on - I even felt confident to do some spin turns and then right when I relaxed at the end - I completely flipped backwards onto our garden tiles, knocking my head on the concrete wall on my way down. As I lie on the ground, my daughter stood over me and asked if I could take her skates off as she wanted to go back inside (empathy still needs work). So right now I couldn’t even slightly imagine standing on this ladder hanging this giant bow! But I am extremely proud of making it.
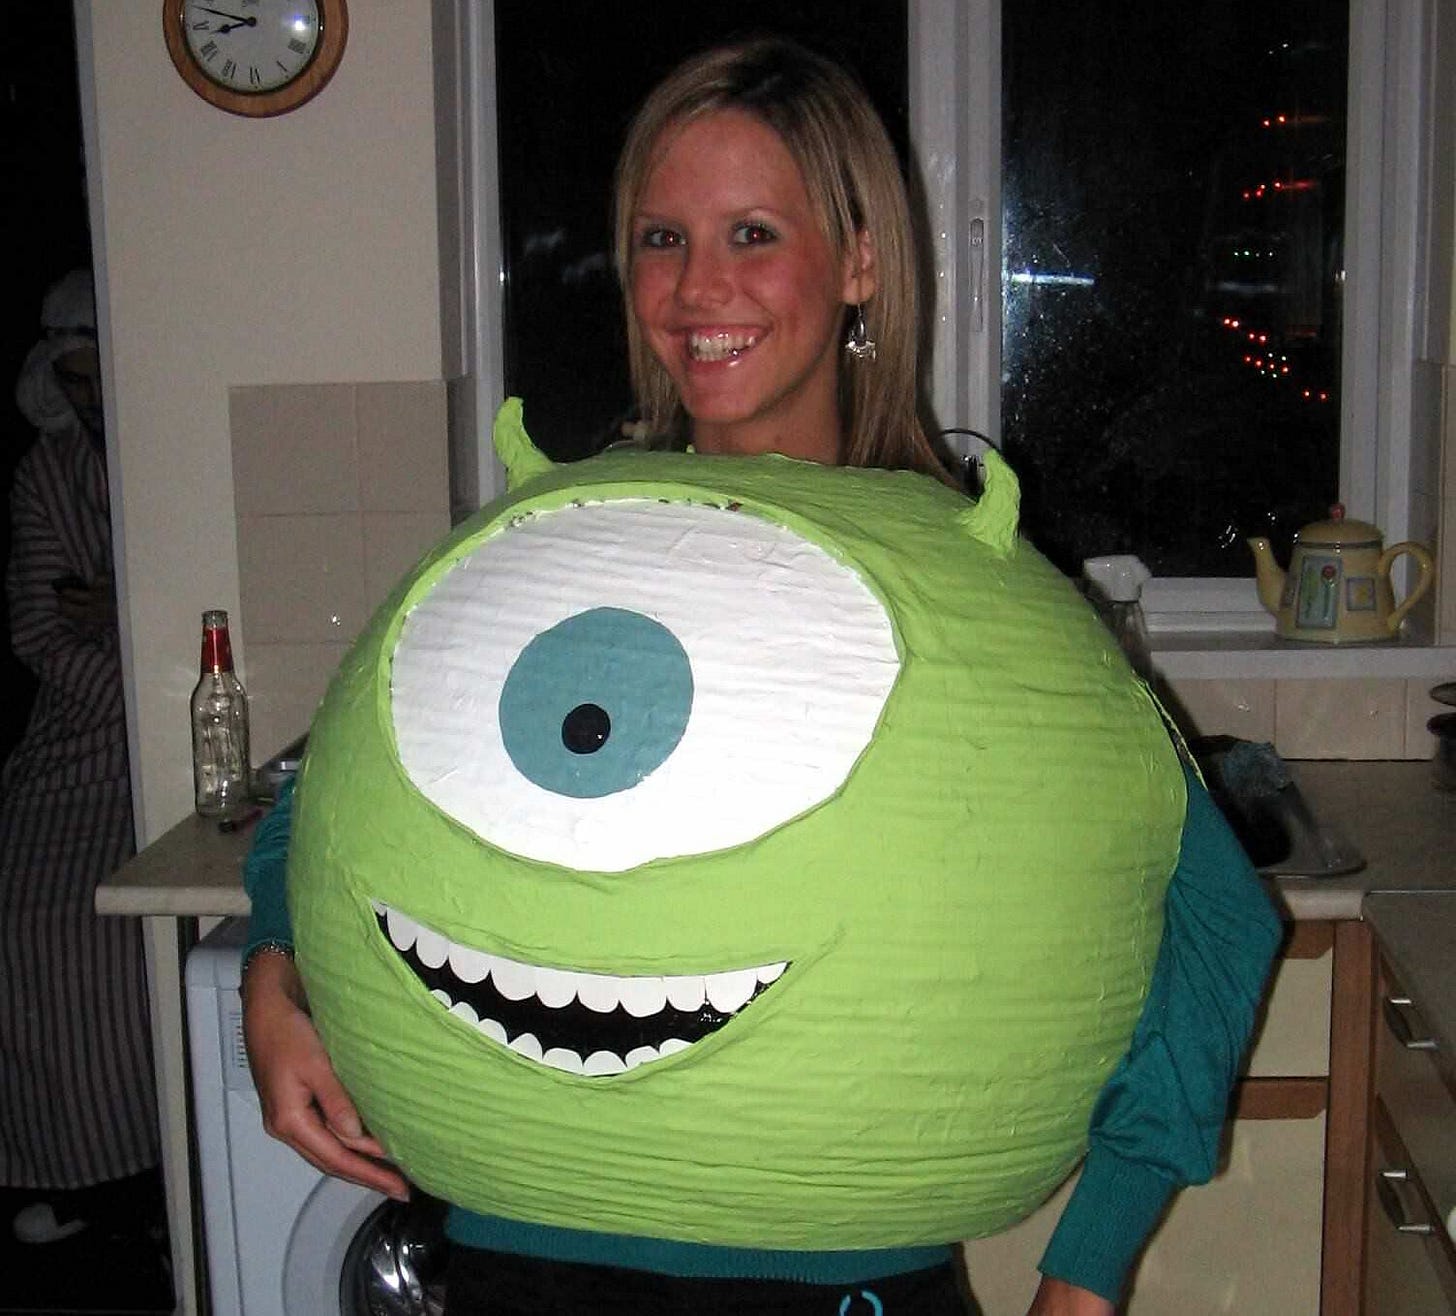
You may know that I love a craft. But not any craft. And I think that’s an important distinction; my daughter is also not a crafter, she never ever got on board at kid friendly events where colouring pencils, pritt sticks and bark were left on a table. School projects? She’d scribble in green pen for 3 minutes then walk off, it just didn’t interest her, and I get it. A craft has to really be something I am committed to, like this halloween costume:
Ideally, I’d like to get a lot of use out of my crafts and DIYs (this costume was worn twice and totally recyclable), I’m really not about hacks for hacks’ sake (you decide if that’s sarcasm).
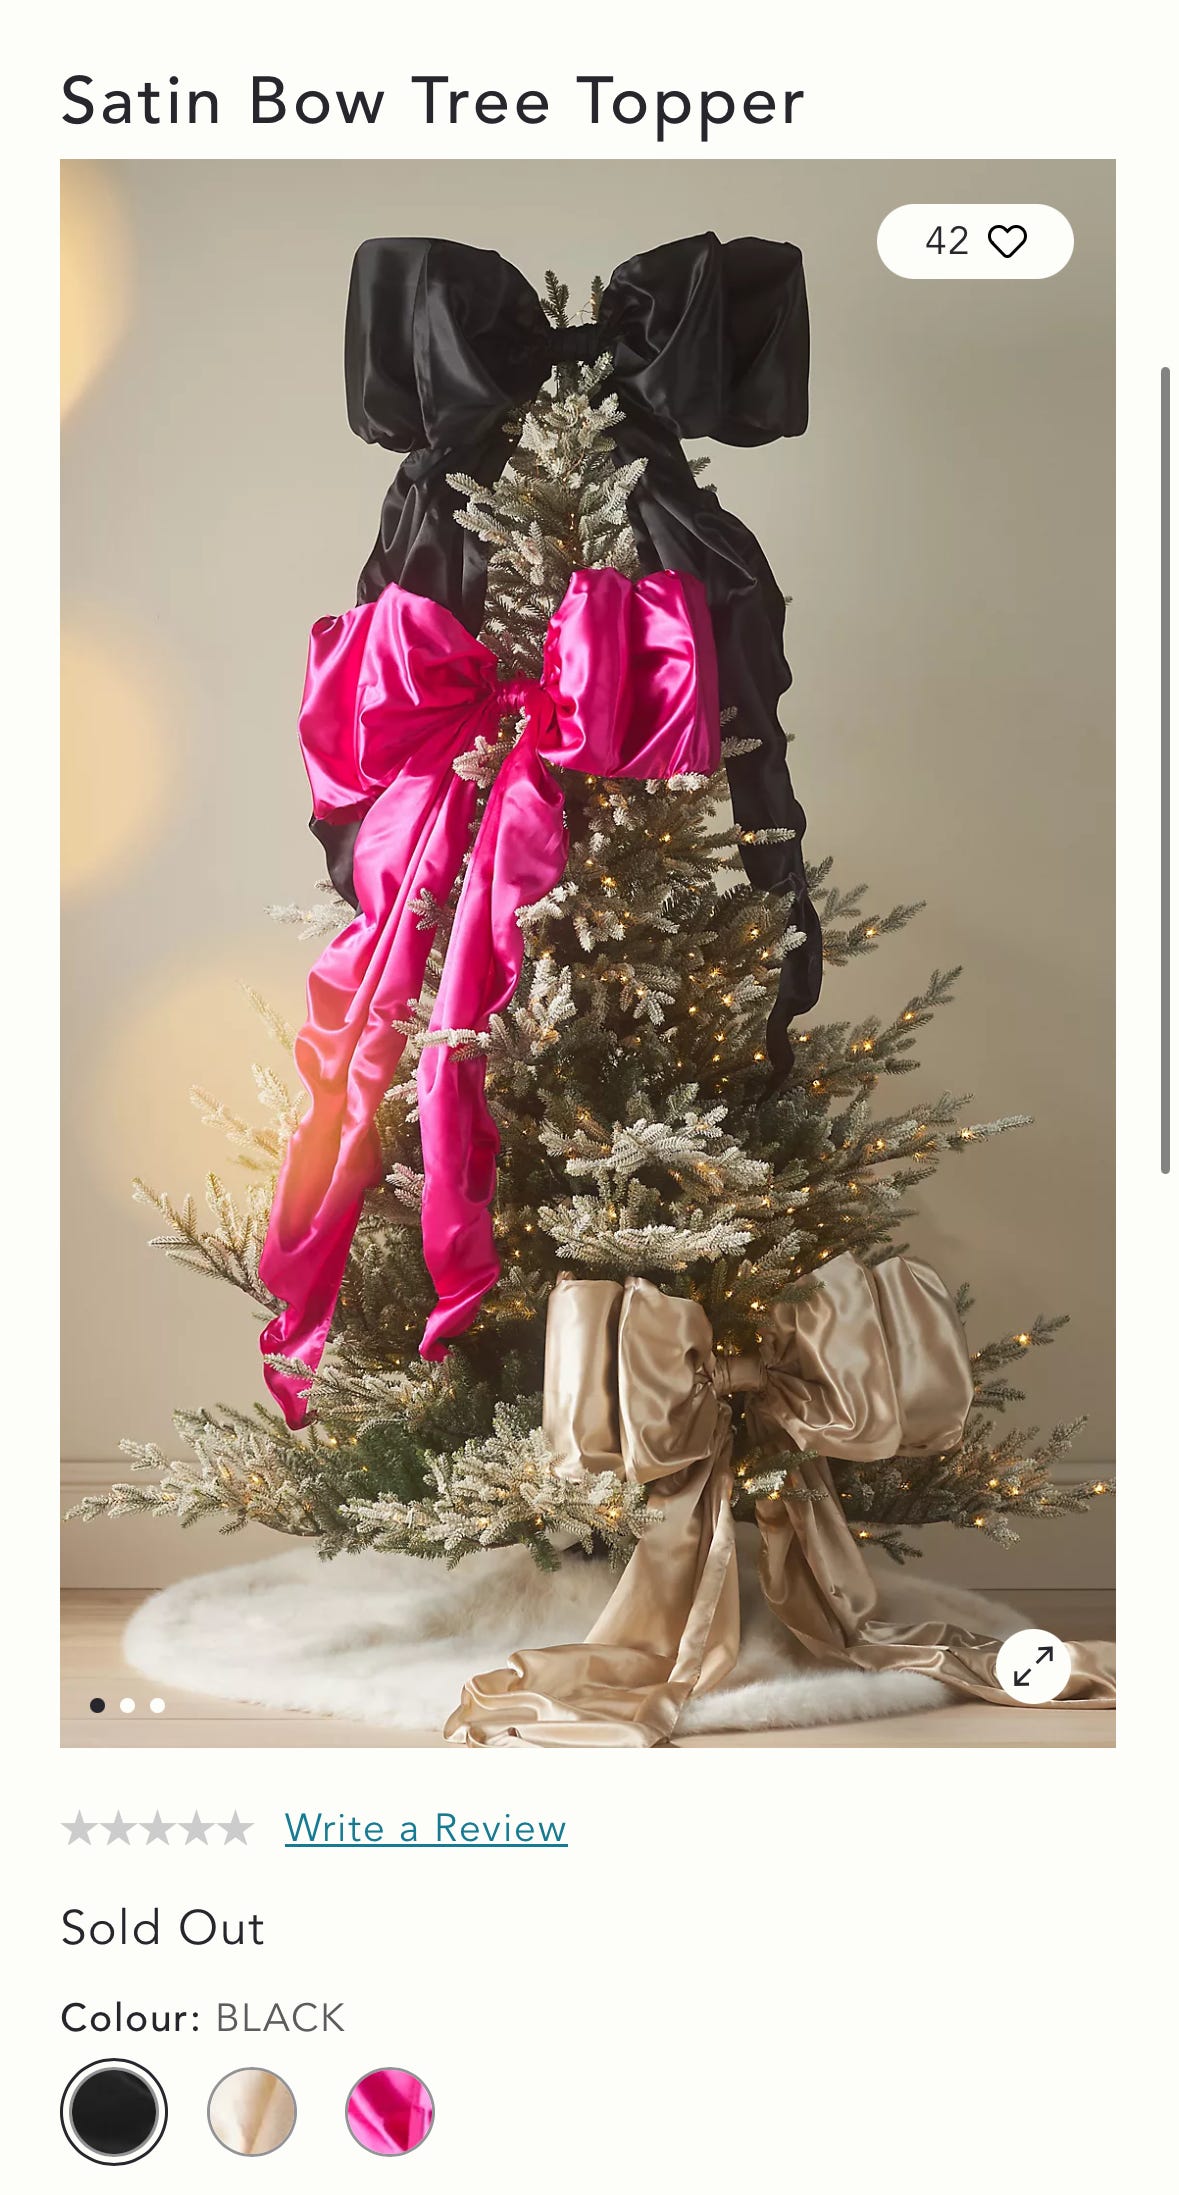
So when I saw this giant satin bow for £76 from Anthropologie on Sarah Clark’s newsletter (and SOLD OUT!), I knew this was something I wanted to recreate.
I initially wanted to make a stripe satin festive bow and hang it over our front door like Anna + Nina in Amsterdam (by the way, Amsterdam is just the prettiest festive city):
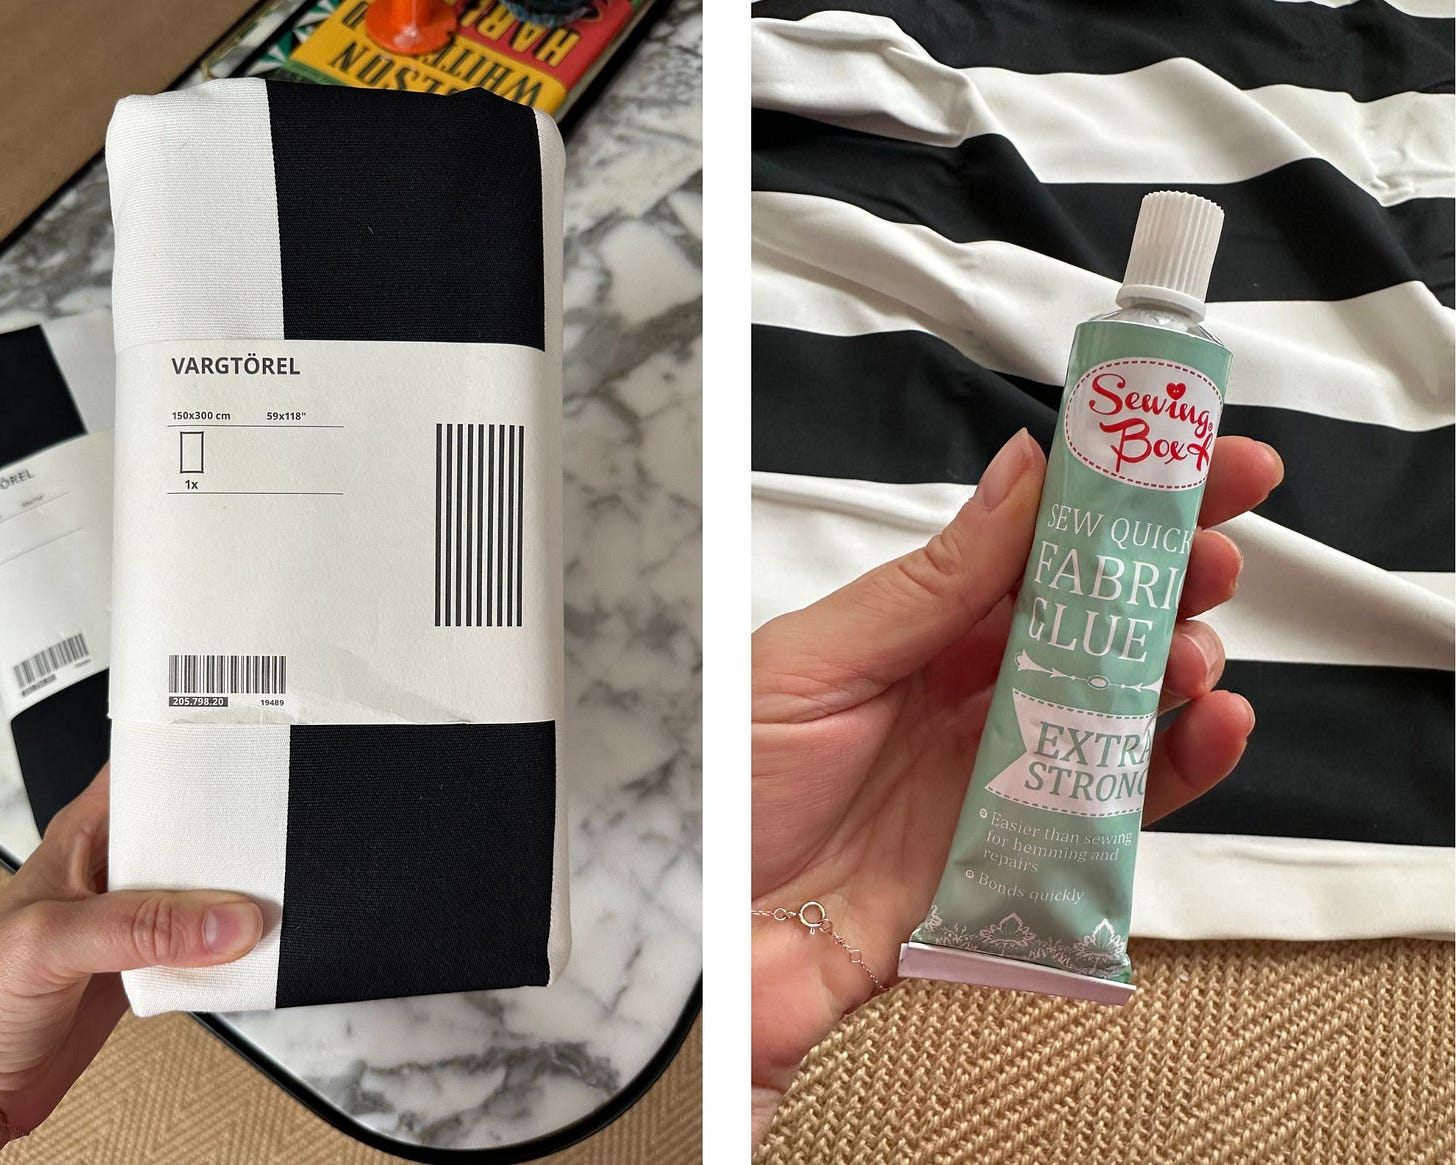
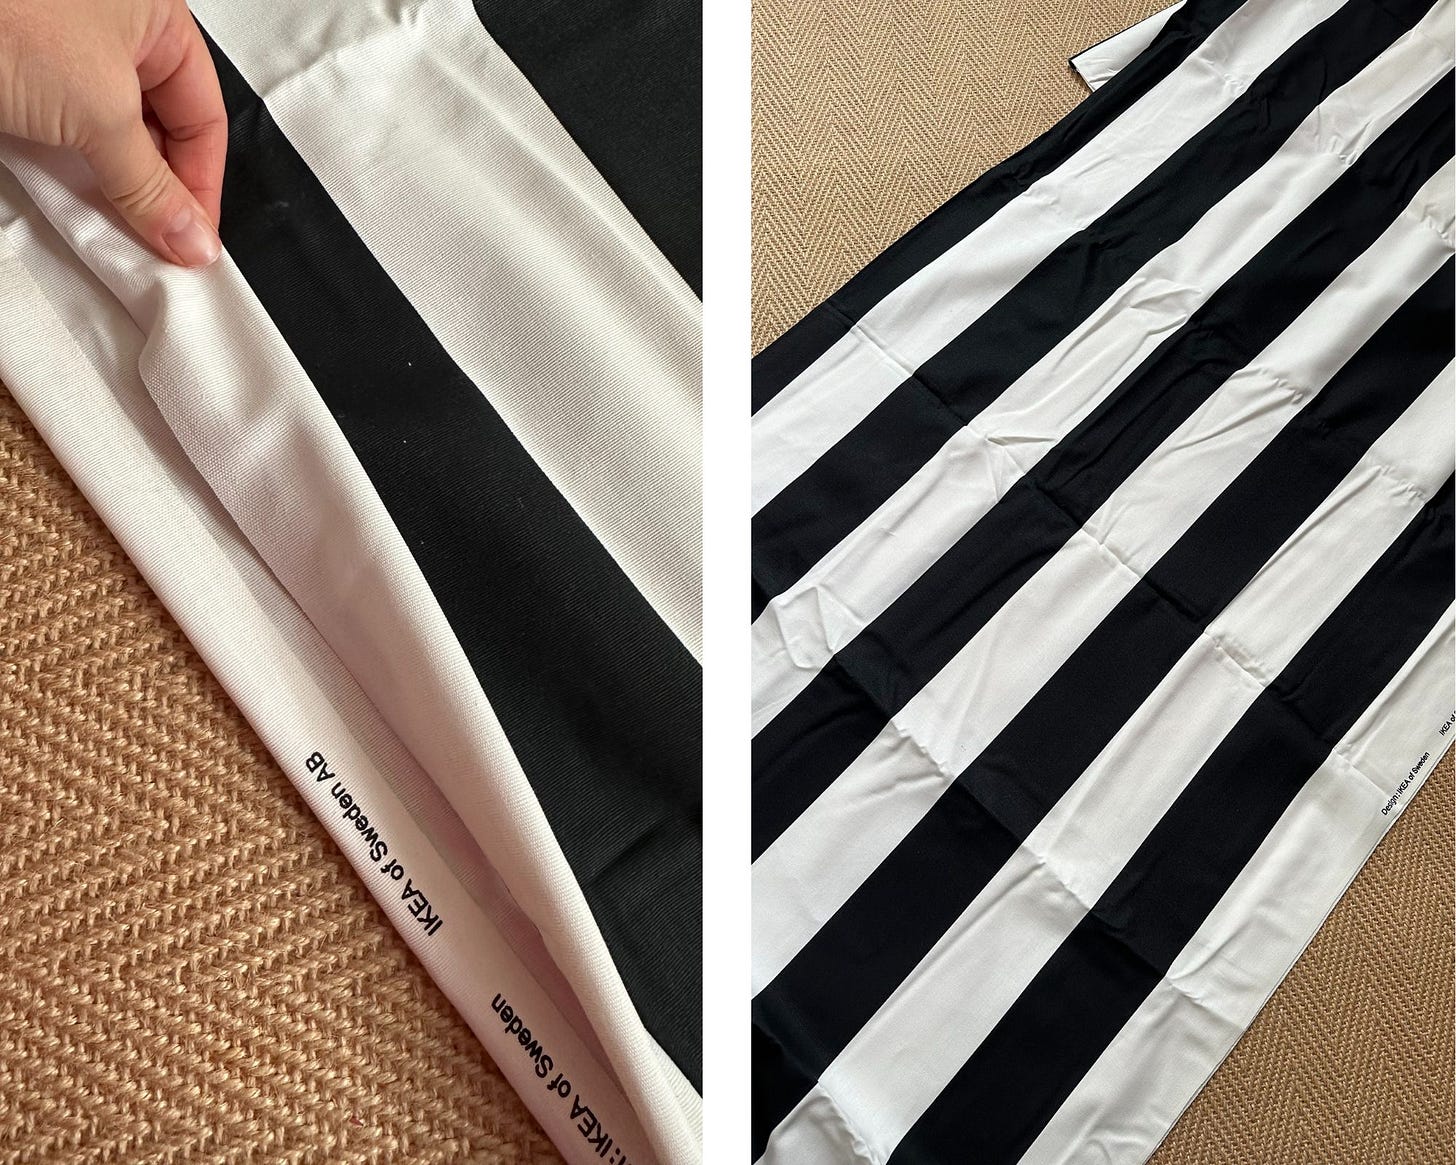
But after a quick google, I found this monochrome stripe pre cut fabric from Ikea for £15 and decided to make a Beetlejuice-esque bow that could last for Halloween and then could still go on to work for Christmas.
What I used:
Vargtorel fabric from Ikea
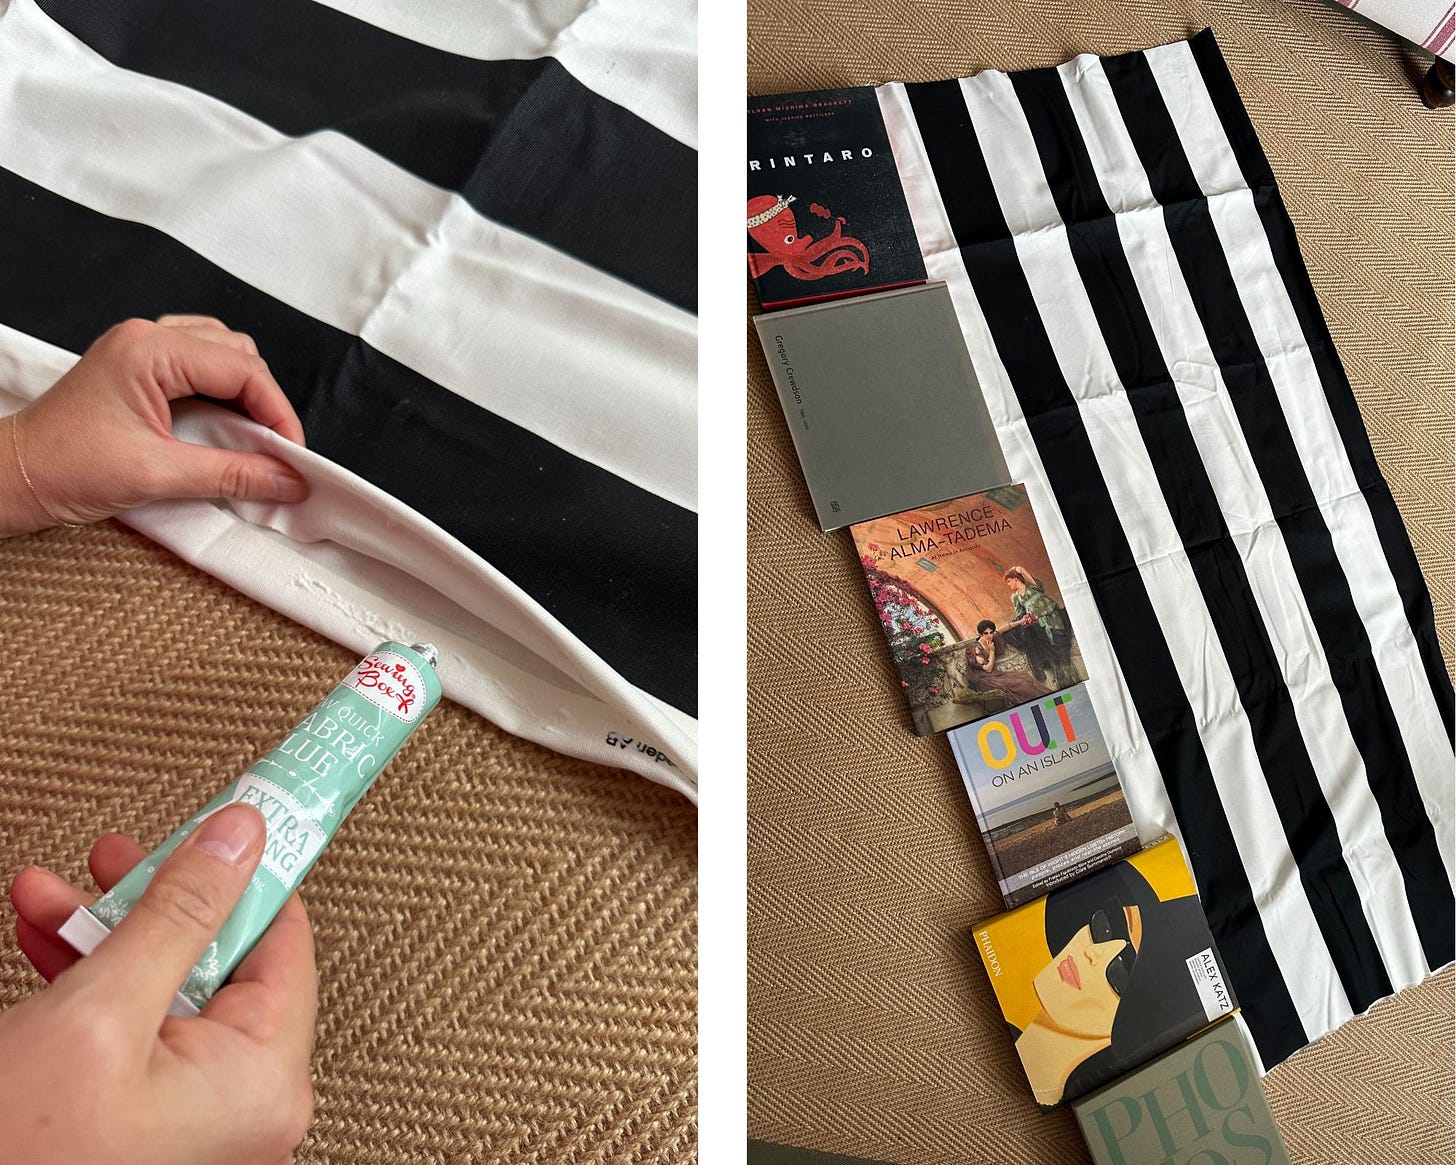
Fabric glue (we just bought this from our local pound store and it did the job! I have linked a better one here)
Ribbon (I used leftovers)
Scissors
Stapler (if I had the time of inclination, I would’ve sewn but I cut corners and it was fiiiine)
Stuffing (you can recycle anything here, tissue paper, bubble wrap - I did see someone using pillows!)
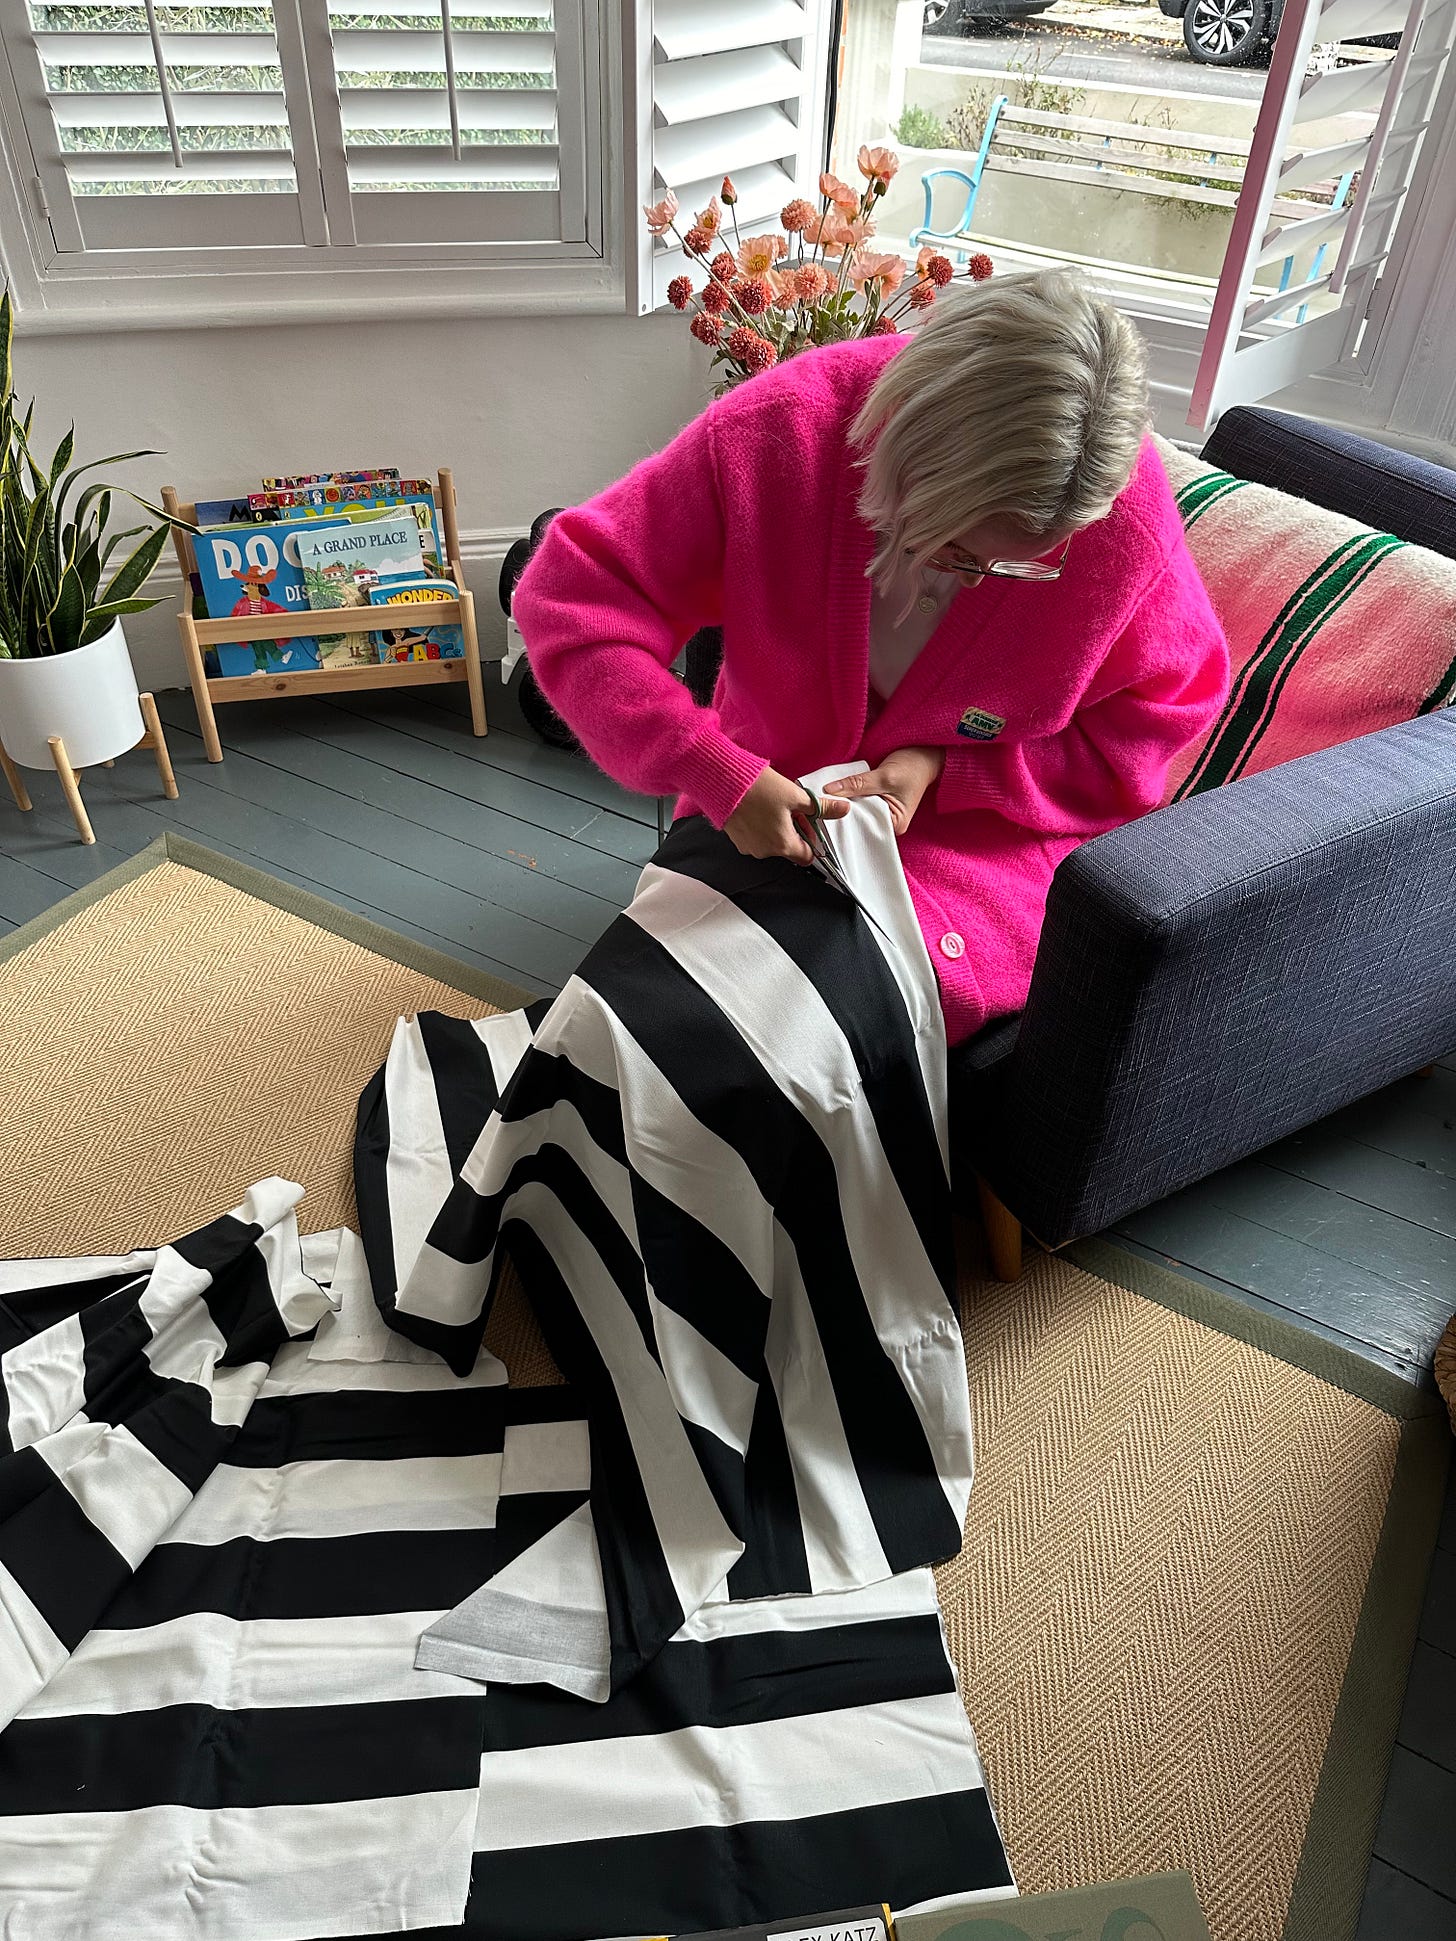
I bought 3 sets of fabric in case I made mistakes but I did manage to only use one piece (and I still had enough to make mistakes on the way!). It also took me longer than it should, I spent a lot of time just staring at the fabric and working out how I was actually going to achieve this without going mad. Plus I’m professional and I like to wait for fabric glue to dry properly etc. But here was how I did it:
Step 1:
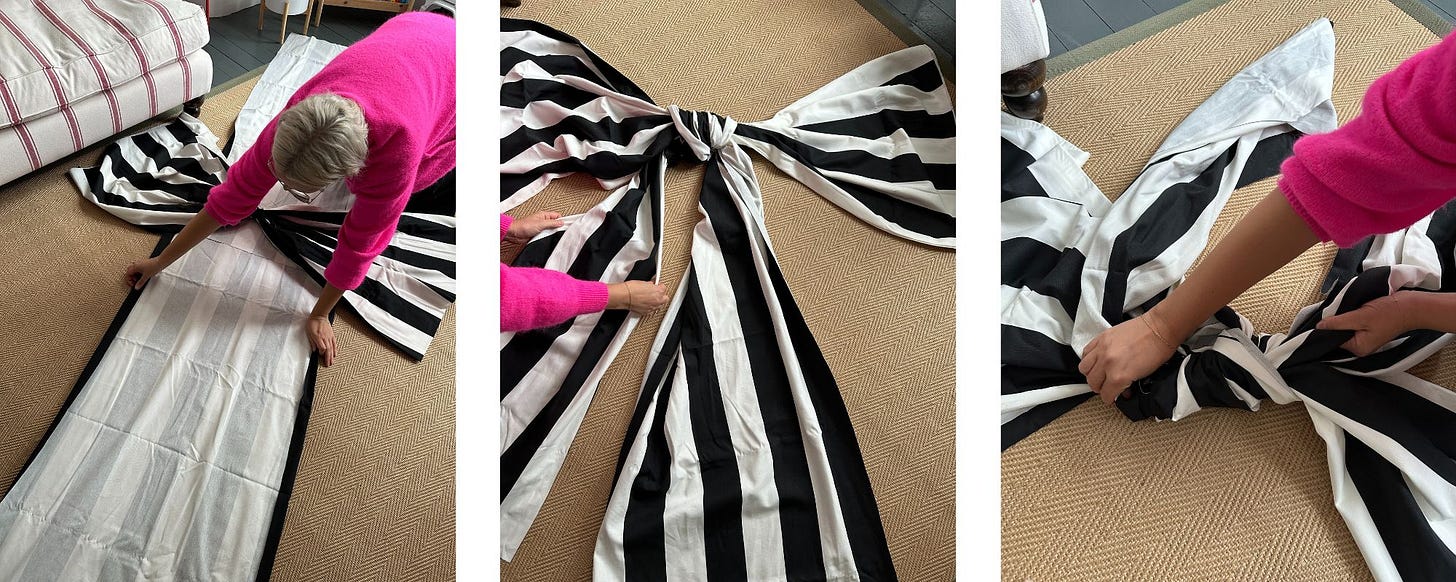
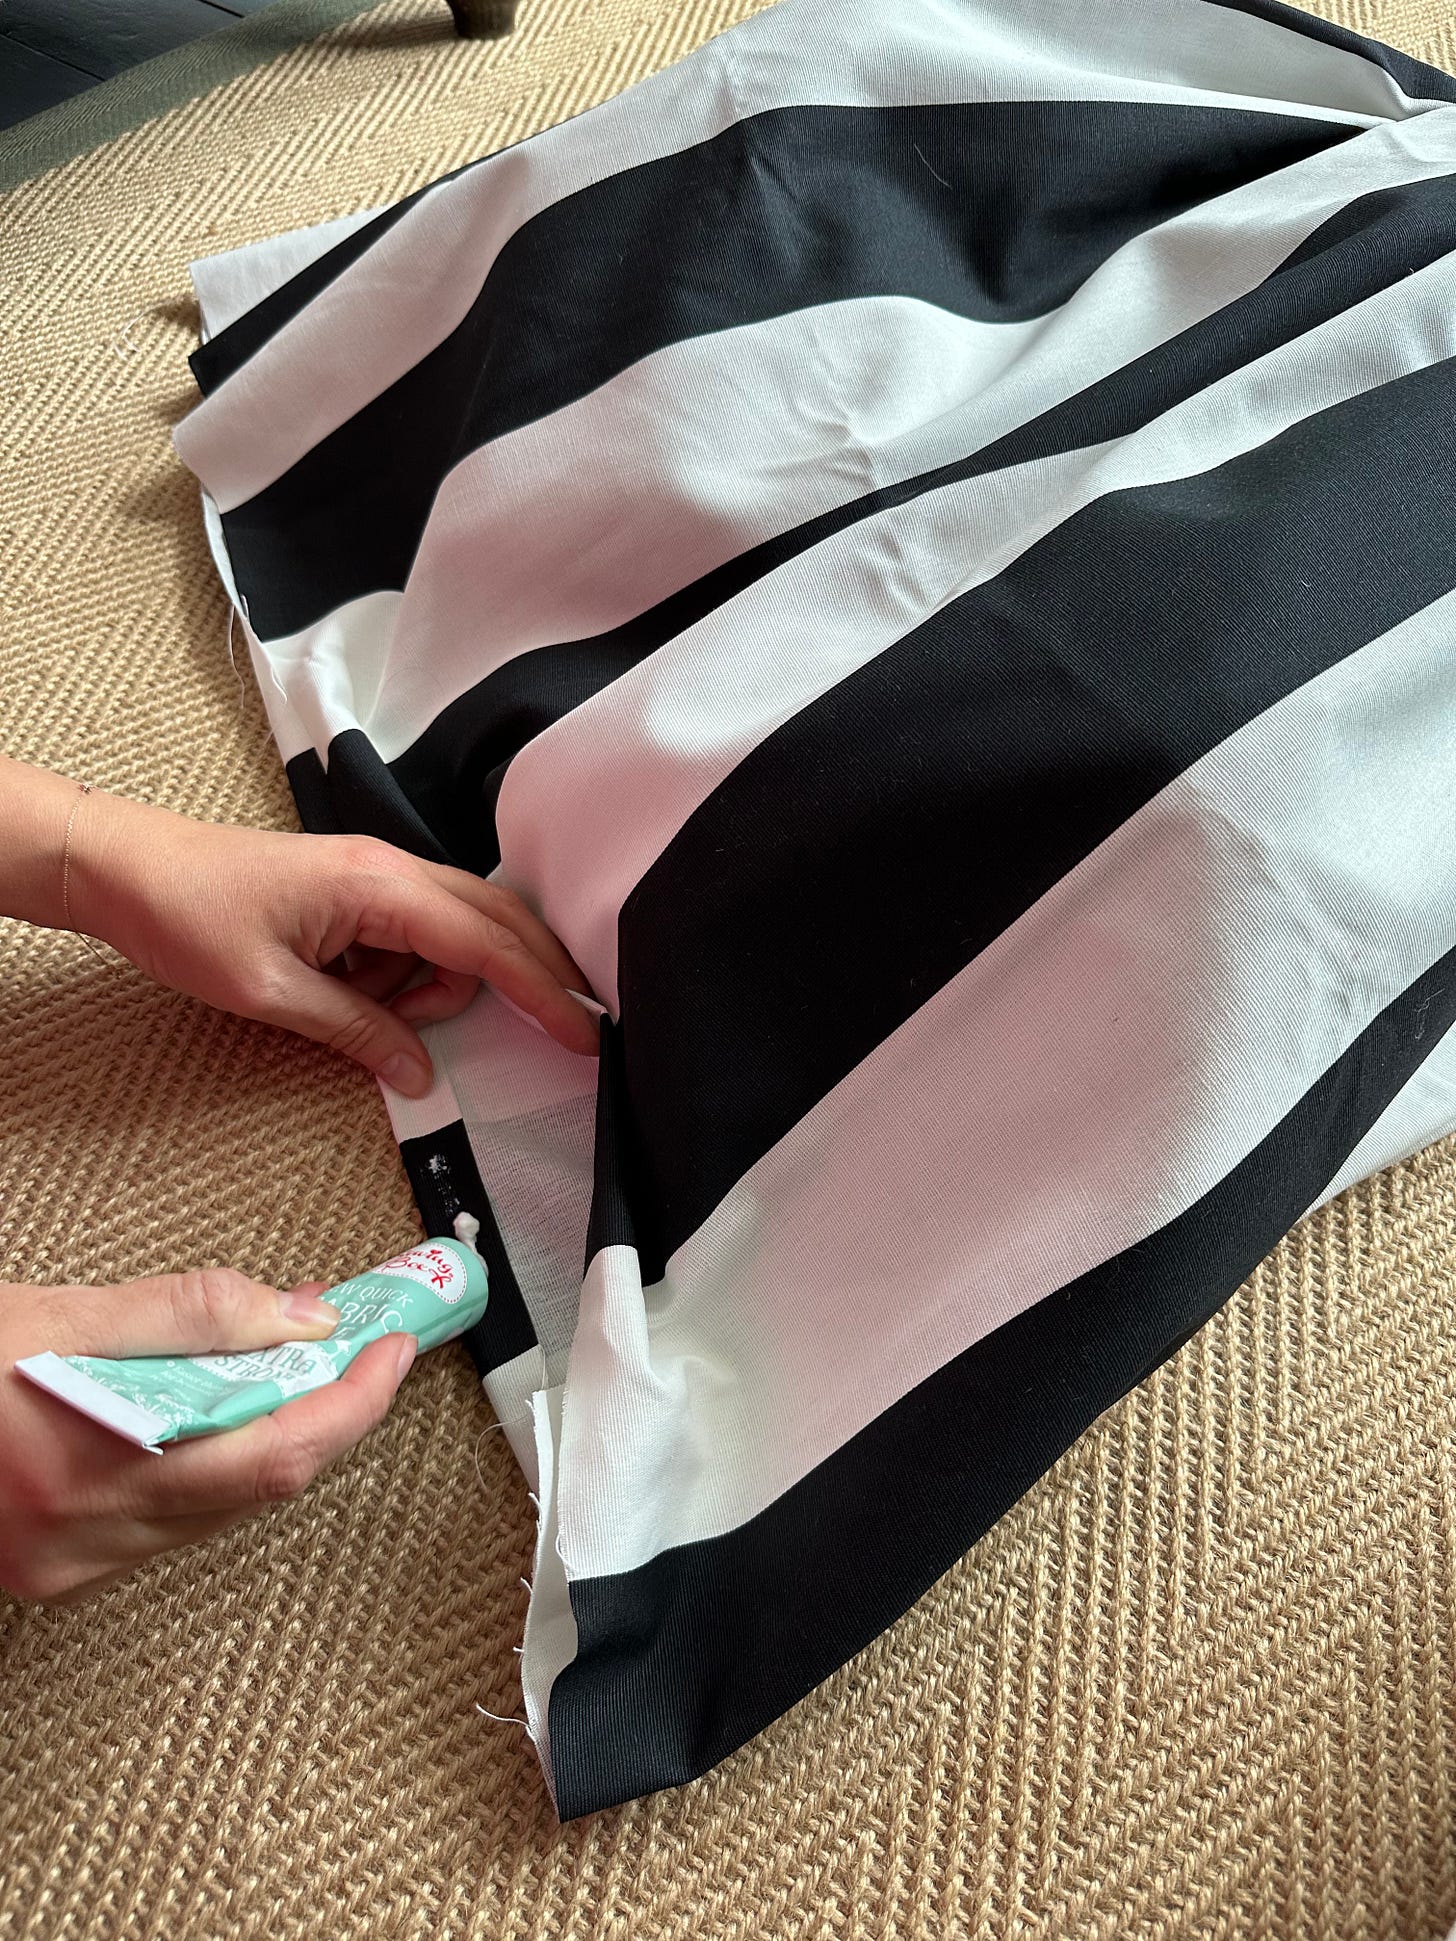
Fold the fabric in half and cut it so you have two 150cm sections. With one of the sections, fold it in half and glue the edges together along on the long edge (I folded the fabric in so it had a neater finish).
Make sure you only glue the lengths, not the sides (we need them open to stuff later!).
Step 2:
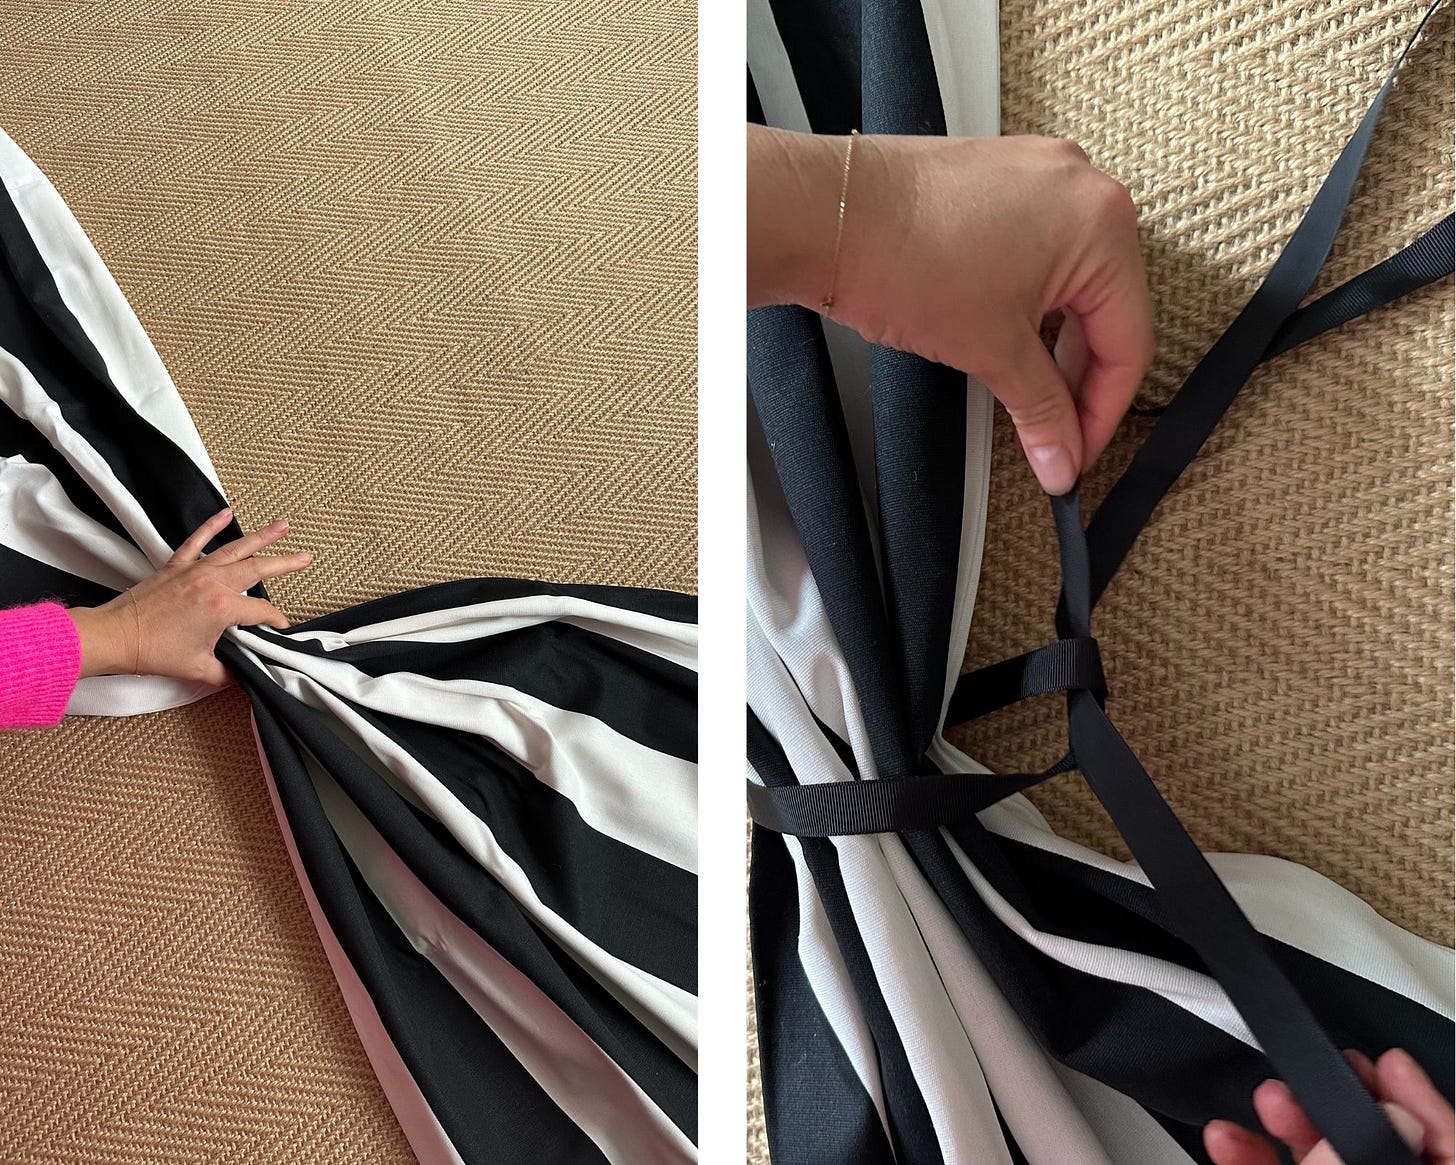
Lay this piece of fabric on a flat surface (I used the floor as it’s pretty big!) and pinch it together in the middle to create a fan. I tied this with old ribbon to secure it here.
Step 3:
Grab the leftover piece of fabric (we shall call this fabric 1), lay it flat with the stripes facing down and place your folded bow piece (fabric 2) on top. Tie a knot at the back here using the lengths of fabric 1. Then turn it over!
Note: I actually cut Fabric 1 lengthways and attached it together (with staples) to make it really long but then ended up trimming it down so did not need it this long. But an option if you wanted something with a bigger train.
Step 4:
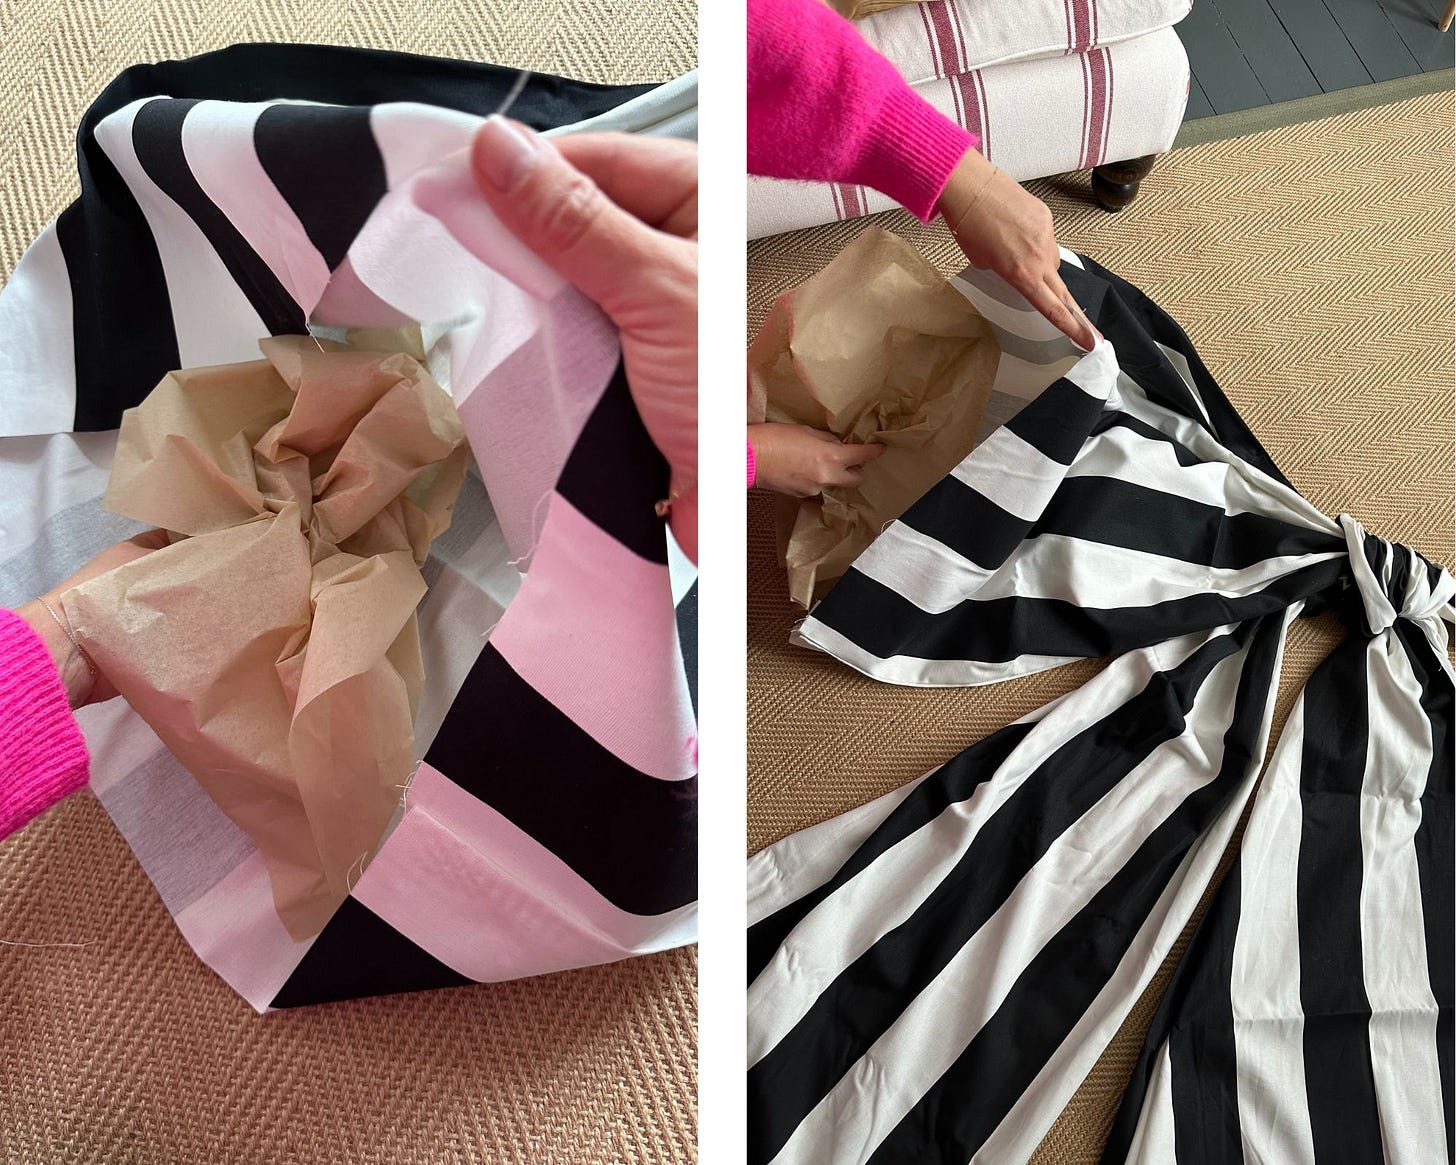
To give the bow some padding, stuff it with anything you deem fit! Old plastic bags would work, maybe some bubble wrap. I used brown tissue paper because a) we have lots leftover from our product and b) it looked a bit nicer for photos than random rubbish - but I think anything would go!
Step 5:
Once the bow is as puffy as you’d like, glue the edges of the bow together (with hindsight, I would’ve like to have gone bigger on the puff).
Note: you’ll notice I did not tidy up the edges of the tail (Fabric 1) so they do have raw edges at some angles but this didn’t bother me too much and I chose not to make this my battle.
Step 6:
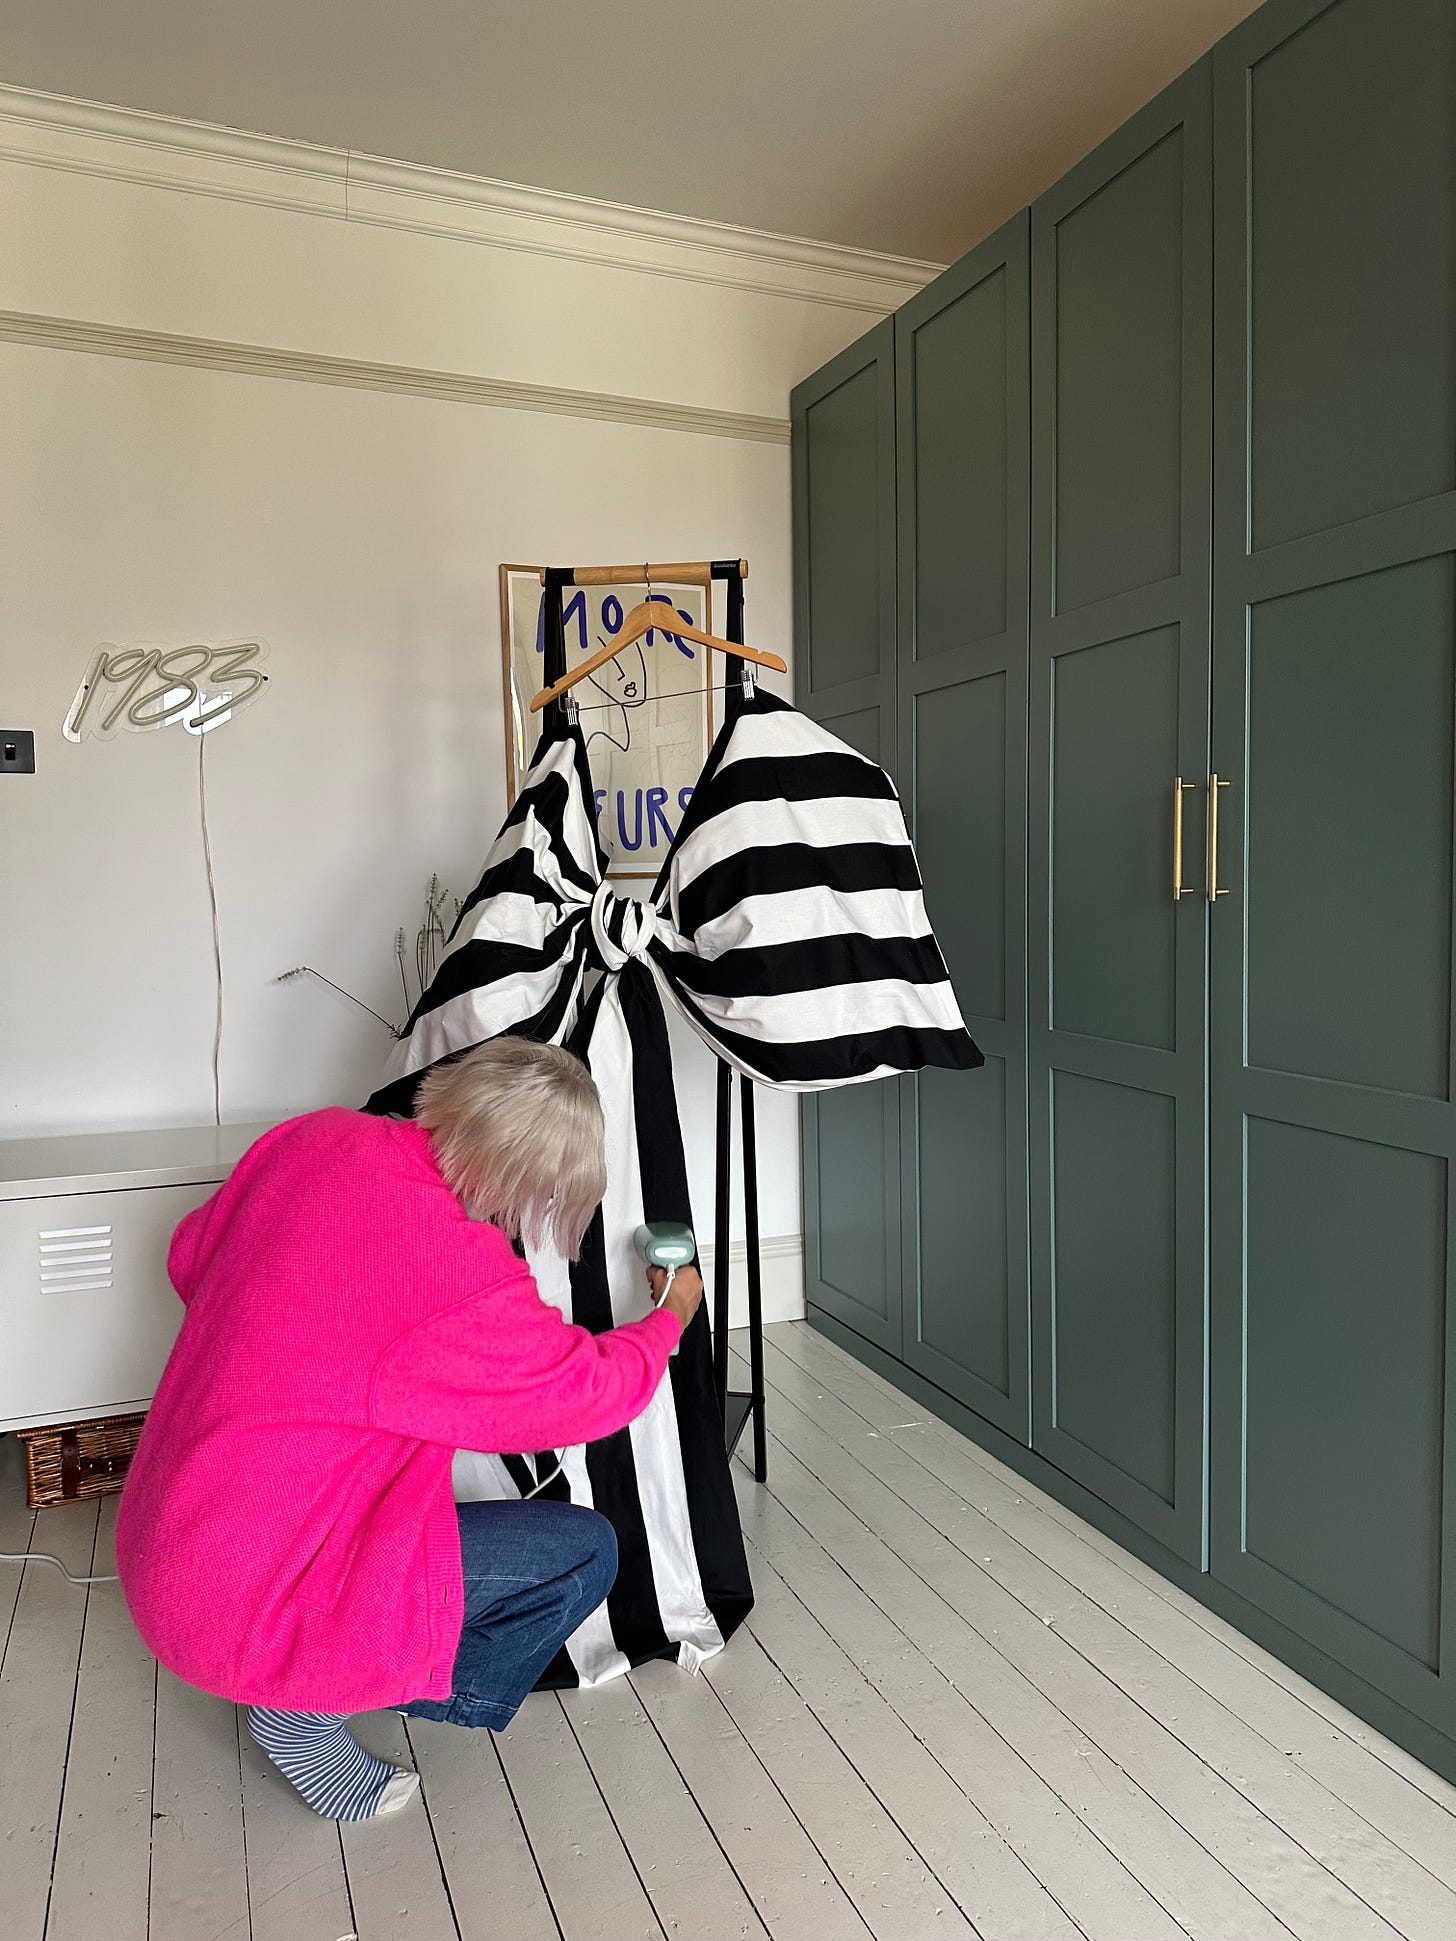
Okay so ironing the fabric maybe should’ve been step 1, I’ll admit. If you forget too, then this stage is steaming.
Step 7:
Hang! I decided to hang it inside rather than on our door (for online safety as well as wet weather) as we are lucky to have fretwork with a hook on the back. I slipped some more ribbon in between the knot at the back and wrapped it around the hook in a knot. I then used drawing pins for the edges of the bow (in invisible spots!) and for the last bit of the train? I ended up trimming mine and using washi tape and sellotape. It was a bit of a botch job (if you’re close and on a step ladder) if I’m really being honest with you but NO ONE WILL EVER KNOW!
Keep reading with a 7-day free trial
Subscribe to The R.U.E to keep reading this post and get 7 days of free access to the full post archives.


